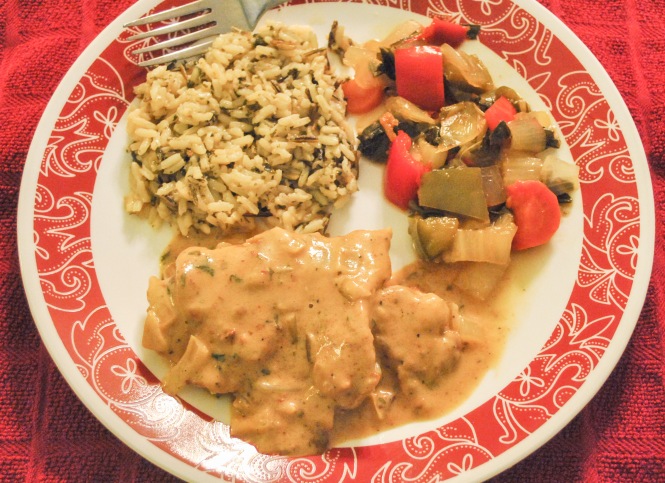
I came up with this recipe to cook for my family. I had bought some boneless skinless chicken thighs on sale and wanted to do something a little different with them. I had some heavy cream left in the fridge from another recipe and decided I wanted to make some kind of creamy sauce for the chicken.
My family loves this particular spice blend I have which is a mixture of smoked paprika, garlic, chili powder, chives, oregano, and rosemary, so I decided to use that to flavor the chicken. You can buy it here, but you can also just make a mixture of similar spices from your own pantry.
This recipe is quick, easy, and delicious. It is pretty enough to serve to company yet easy enough to throw together for a quick weeknight dinner. Serve it alongside your favorite rice or potatoes and vegetables, and some great crusty bread to sop up the sauce with. Believe me, you will want to get every little bit of it you can!
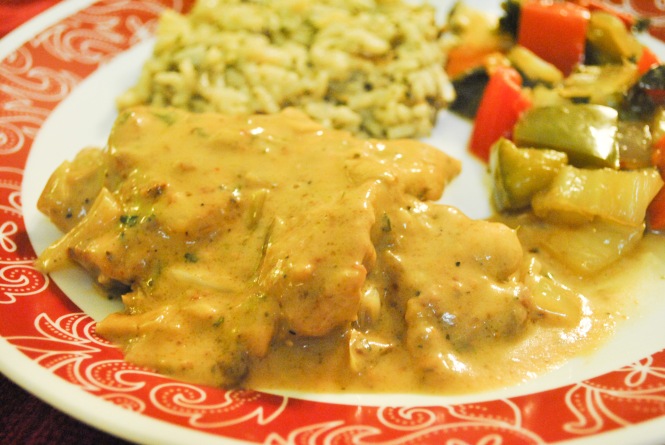
Creamy Paprika Garlic Chicken
Prep Time: 5 minutes
Cook Time: 25 minutes
Serves: 6 people
Ingredients:
12 boneless skinless chicken thighs
1 large yellow onion, diced
1 – 14 oz. can low-sodium chicken broth
1/2 cup heavy cream
2 Tbsp. paprika, garlic, chili blend, or to
1 Tbsp kosher salt, or to taste
1 tsp black pepper, or to taste
4 Tbsp flour
1 Tbsp olive oil
Directions:
1. Heat olive oil in a large skillet over medium heat.
2. Place chicken thighs in the pan and sprinkle evenly with half the spice blend, salt, and pepper. Turn the thighs over and sprinkle the other side with the remaining spices. Cook chicken on each side until browned and cooked through. Remove from pan.
3. Add diced onion to pan and cook until translucent. Add flour and stir it into the onions. Allow to cook for two minutes more until the flour is a golden brown color.
4. Deglaze the pan by pouring in about 1/4 cup of the chicken broth and scraping up all the browning bits and blending in the flour. Add the rest of the chicken broth and bring to a slow simmer. Add the cream and stir. Continue to simmer until the sauce begins to thicken.
5. Add chicken back into the sauce and allow to warm through. Serve.